Sunday, June 27, 2021

Bloom Where You're Planted Class


Showcasing My Latest Card Class Creations!

These were the designs we made during last Friday's Virtual Card Kit Class.  Using the Bloom Where You're Planted Designer Series Paper, coordinating cardstock, and some die-cut elements from the Perfect Plants Dies, we crafted SIX cards....and learned a few tips along the way! We did fussy cut the plants, but the Dies do cut out some of the plants from the DSP.  I used the coordinating stamp set called Plentiful Plants for the sentiments.

The Diagonal Flip Card

For this fun way to use Designer Series Paper, cut a piece of DSP at: 3-5/8” x 4-7/8”, then cut on a diagonal 1” down from top left to 1” up from the bottom right, and flip the top piece over so show the other DSP design.  Adhere both DSP pieces towards the left of a Basic White layer: 3-5/8” x 4-7/8”
Stamp your sentiment in the white triangle created by the DSP pieces in Evening Evergreen.

Adhere to an Evening Evergreen layer: 3-3/4” x 5” and then to a Garden Green card base.  Add your plants with Stampin' Dimensionals as shown above.


Macrame Embossing Folder Card

This card was based on a card map/template that I recently used to make invitations for my mother.  The piece of the macrame embossed background and the bit of the Evening Evergreen Open Weave Ribbon add such nice textures to the card.  
  • Soft Succulent card base; 
  • Gray Granite Embossing Folder layer: 3-1/2 x 3-3/4”; 
  • DSP layer: 2-1/2” x 4-1/2”

In the close-up above you can get a good look at the Clear Epoxy Essentials that look like water drops on the leaves!

Two-way Rectangle Card

There were two options for this last card.  We have a Gray Granite card base and a DSP rectangle cut at 3 x 4-1/4”.  Leave the rectangle as is or cut into three rectangles @ just shy of 1-3/8” or so.  It's OK if they are not all exactly the same size...my card here has a larger middle panel.  I wanted to show how you can use the images from the edges of the Designer Series Paper...sometimes part of the image is cut off...but that doesn't mean you can't use it!


We had fun playing around with the pots & plants from the DSP and the die-cut pots & plants too!  
It was a little like playing with Paper Dolls from our youth!
Scroll down for links to purchase the items used in the cards above.

The Bloom Where You're Planted Suite is amazing!

I fell in love with this suite at first sight in the catalog!  It's so fun to mix and match all of the elements included in the suite...from the stamps, Designer Series Paper and dies to the paper lattice embellishment.   It's a lil' bit retro and I just love the DistINKtive-style Plentiful Plants stamp set!  


Contact me if you'd like to participate in my next virtual or in-person class!

Product List

Wednesday, June 16, 2021

Paper Crafting Blog Hop - Biggest Birthday Wish

Welcome to the Paper Crafting Blog Hop! The June 2021 blog hop includes Stampin' Up! Independent Demonstrators from around the world!  Talented Demonstrators from all over the globe including the United States, the United Kingdom, and Australia are participating!  Get ready to be wowed by a variety of creative projects and design styles!  You may have arrived from Sandy's blog.  What a fabulous project she had!

We are featuring Birthday cards this month! Below are the cards that I created with the Spiral Dye background and Biggest Wish stamp sets.  The tags were die-cut from the Tailor Made Tags dies.


I love making coordinating gift card packaging for birthdays!  The In Color Ombre Gift Bags are so easy to stamp on and the Biggest Wish stamps work beautifully!


You can watch my Facebook Live video on replay here to see how to stamp with the Spiral Dye background stamp.  And scroll down to see the list of supplies used.


Thanks for hopping around this month with us!  Click below to see what Maureen has in store for birthdays!


You can follow me on my Facebook Page to be notified when I post my Tuesday Night Stampin' Club Live videos.  If you do not already have a Stampin’ Up! Demonstrator, I would LOVE to be yours. Would you like to enjoy the demonstrator discount? Join my team, The INK Crowd! Click here for details.

All the supplies used to create these projects can be ordered through my online store here. Please use the Host Code found on the right side of my blog when ordering through my online store to help support my Craft for a Cause initiatives. If your order is over $150, don’t use the host code so you can redeem all the Host Rewards....which means FREE product for you!
Thanks for stopping by!  Julia Mazur @ SimplySheStamps

Product List

Monday, June 14, 2021

Sweet Peaches!


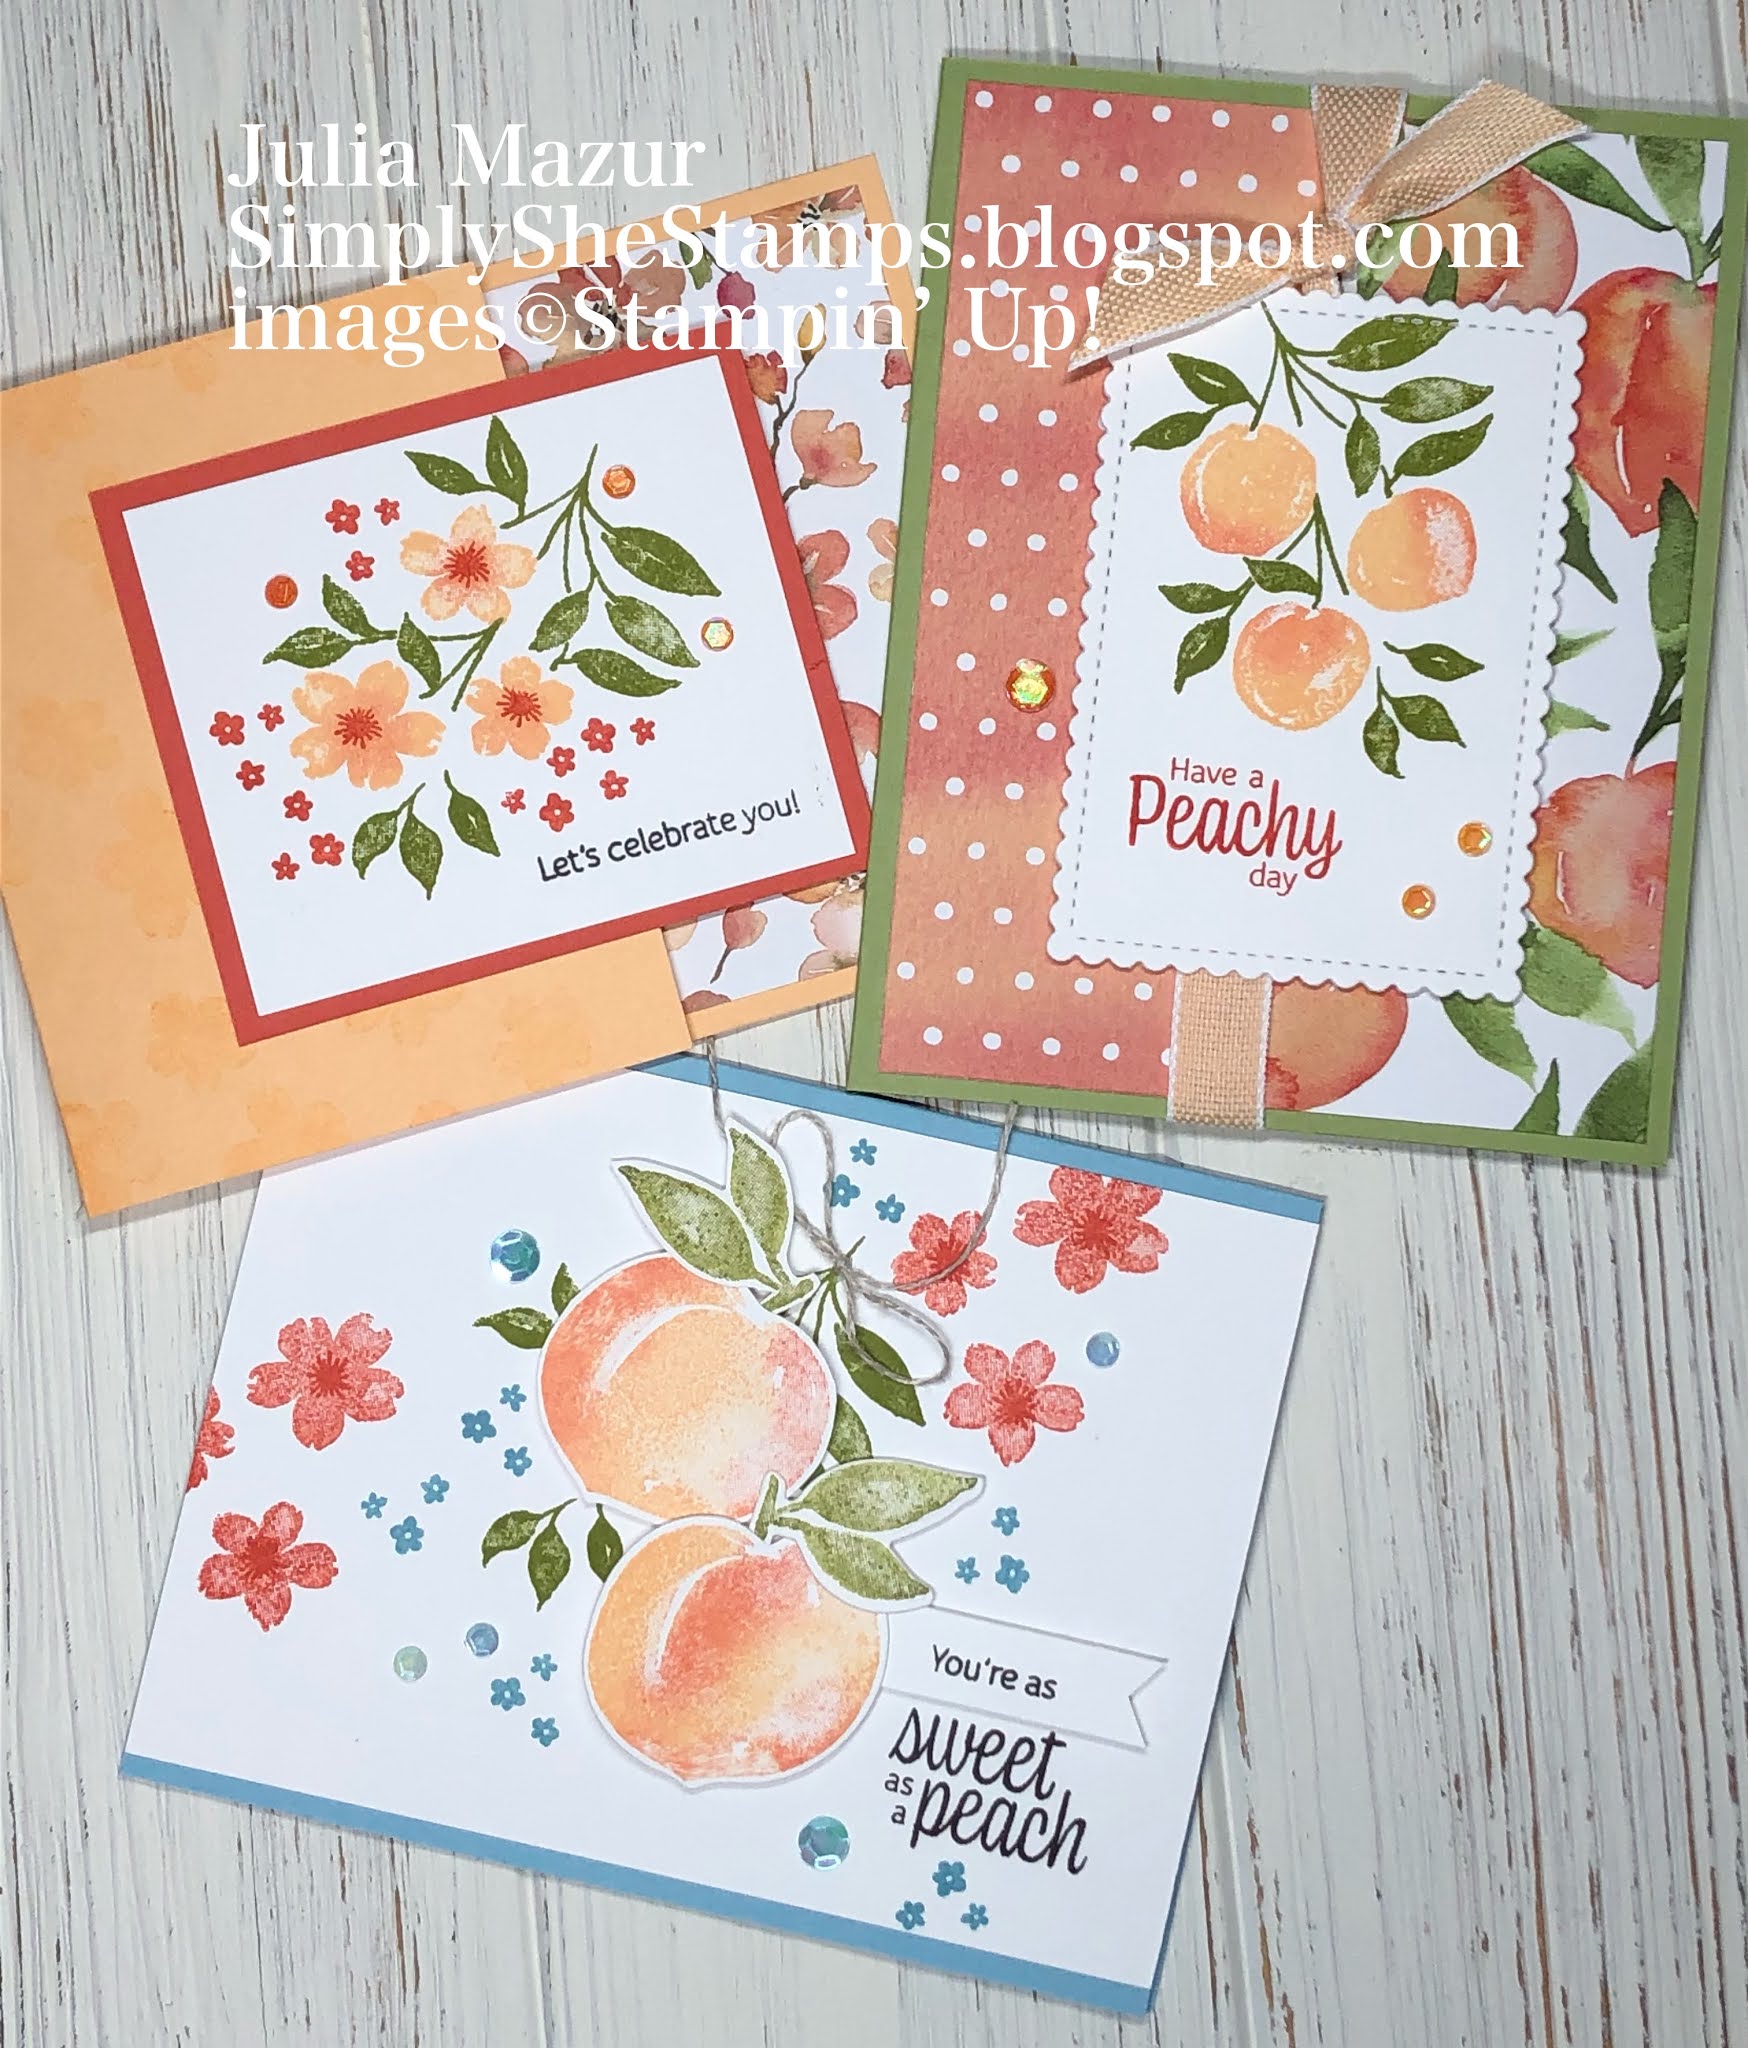
You're a Peach Card Class cards

We had a wonderful time during my virtual You're a Peach Card Class on Saturday!  I'm so grateful for my stampin' friends that craft with me!  These are the three cards we made shown above.  Scroll through this post to see them up close and find out about the inspiration for these cards.

Card Map card

This card was based on a "card map" using two strips of Designer Series Paper cut at 2" x 5-1/4" and a die-cut from the Stitched So Sweetly dies in the center for the focal point.  The Pale Papaya & White 1/2" Ribbon ties it all together!  We used a sponge dauber to give the peaches extra depth.  Click here to watch my video from my last Facebook LIVE to see how to do that!

CASED it!

I was inspired by the Sweet Strawberry card that Stampin' Up! provided to us Demonstrators as a sample for the Sweet Strawberry Bundle.  I added more ink colors for my class card and let the stamps do the work!  

Seriously, these peaches are aah-mazing when you add a little extra ink with a sponge dauber to the stamp before you stamp onto the paper!  And that little sparkle in the Sweet as a Peach stamp set is the inside of the flower blossoms.  And speaking of sparkle....have you noticed the sparkle of the Artistry Blooms Sequins on all of the class cards?

Fun Fold

Our last card was a simple fun fold card.  Cut off a portion of the front of the card so you get a peek of some You're a Peach Designer Series Paper attached to part of the inside of the card.   You also get some floral images in this suite of products (stamps, dies, paper) in addition to the peaches!  And there's a Happy Birthday sentiment stamped on the inside of the card.  I love the mixture of fonts used in the sentiments from the stamp set...typeset and cursive!

Well, my You're a Peach card class was a success and I'd love to add some more friends to our lil' stampin' circle of friends for my next class!


Contact me if you'd like to participate and also if you'd like to get my exclusive Bloom Where You're Planted card kit.  Six cards (2 each of 3 designs) using Bloom Where You're Planted Designer Series Paper and coordinating cardstock and embellishments.

Product List